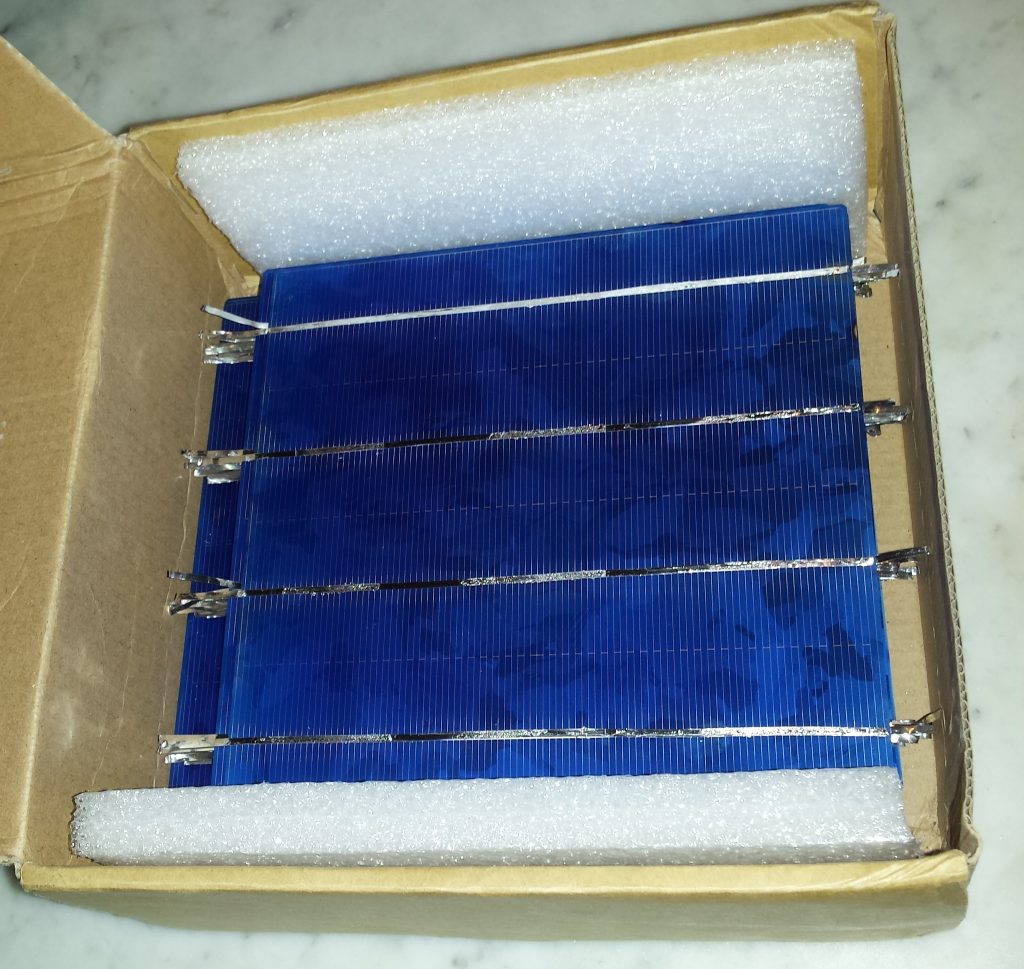
Each solar cell is sold as a plate of silicon crystals that must be soldered to metal strips. These cells are extremely fragile, they will break at the first shock or with mishandling. Stress must be reduced to a minimum by manipulating and gently moving them. It is normal to break several at the beginning; beware, the broken pieces are small, very fine knives. In this project, the solar cells are 16.5 mm square and produce 4.8 W each. Each cell provides about 0.5 V normally and 0.6 V at the large perpendicular sun. You have to aim at 15 V or 18 V panels, that is 30 or 36 cells, to supply a 12 V battery system. As we manufacture the panels ourselves with different materials, we can have panels 12, 18, 24, 30 or 36 cells, connecting them together in a modular way, as needed. Most commercial signs have 36 cells. We can count on 0.5 V per cell in cloudy weather, so we have 36 cells * 0.5 V = 18 V. This is ideal for charging 12 V (the voltage should drop around 14.5 V when connected) batteries to charge). Finally if it is sunny, it is better to connect only 30 cells. We can count 30 cells * 0.6 V = 18 V. If we leave 36 cells in good weather, most of the time the panels will not charge the batteries because they will be at 21 V and the charge controller will disconnect them or waste most of the energy to avoid overcharging the batteries that have a maximum charging voltage.
To start, you need to cut metal tabs of two different sizes. To get there faster, we can hang the wheel on an axis to pull at will, then we can fold the lengths noted on the table (or other object), to finally cut with chisel.
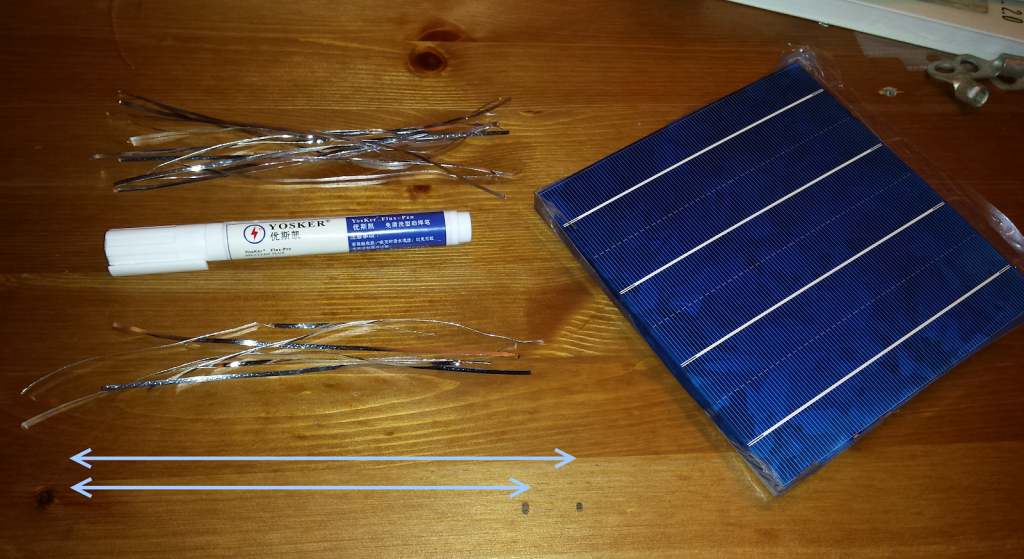
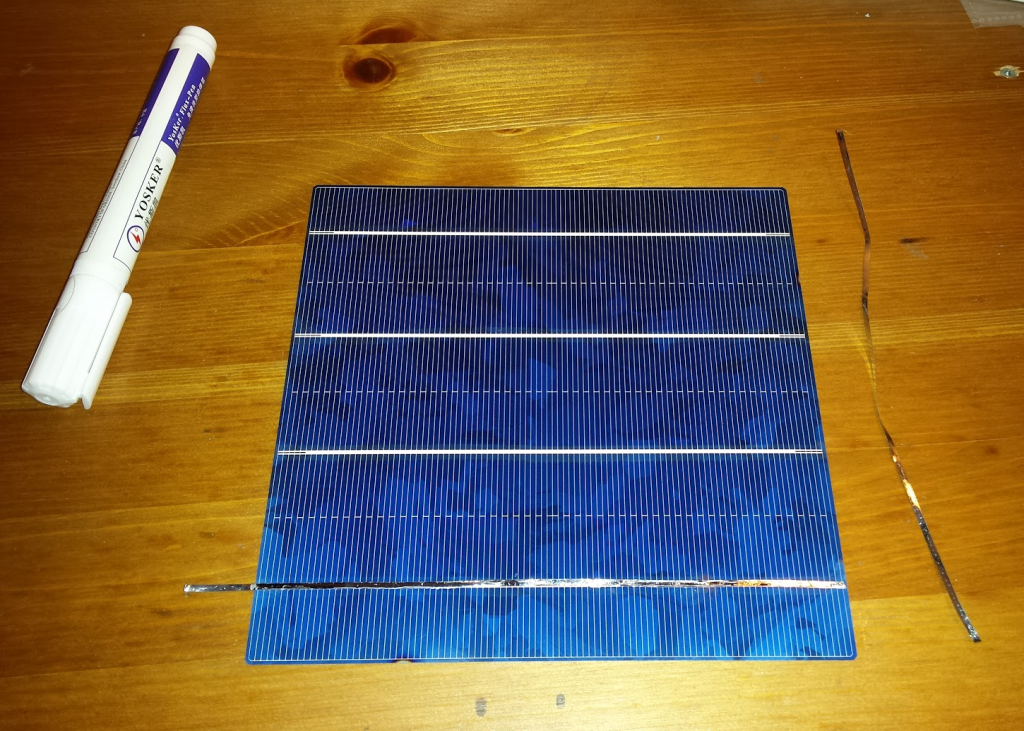
With the resin pencil, draw a line on each white stripe, avoiding to put it everywhere. You have to make a thin and fast line. Exactly, it does not seem that there is any, that’s the idea. The amount of resin will burn during welding, if you put too much it leaves a deposit and I do not think it helps in the long run.
A $ 15 flat head soldering iron can be used for the occasion. This iron is to be avoided in electronics, but for this work it is ideal! You must let the iron heat up, at least 5 minutes or more before starting otherwise it will go bad.
To facilitate the work, we begin by welding a small part at the end where we align the strip.
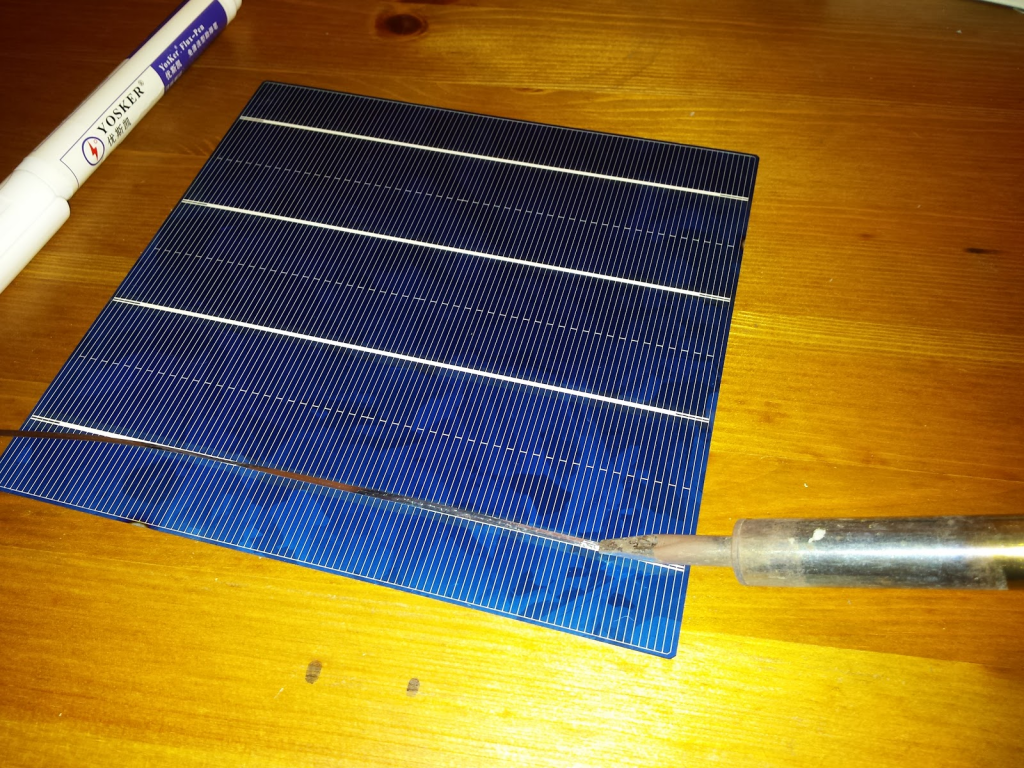
Then it is easier to align what is left on the white line by pulling the tab outward. To obtain a better weld, it is necessary to weld several times, one last time very smooth by distributing the weld in a uniform way.
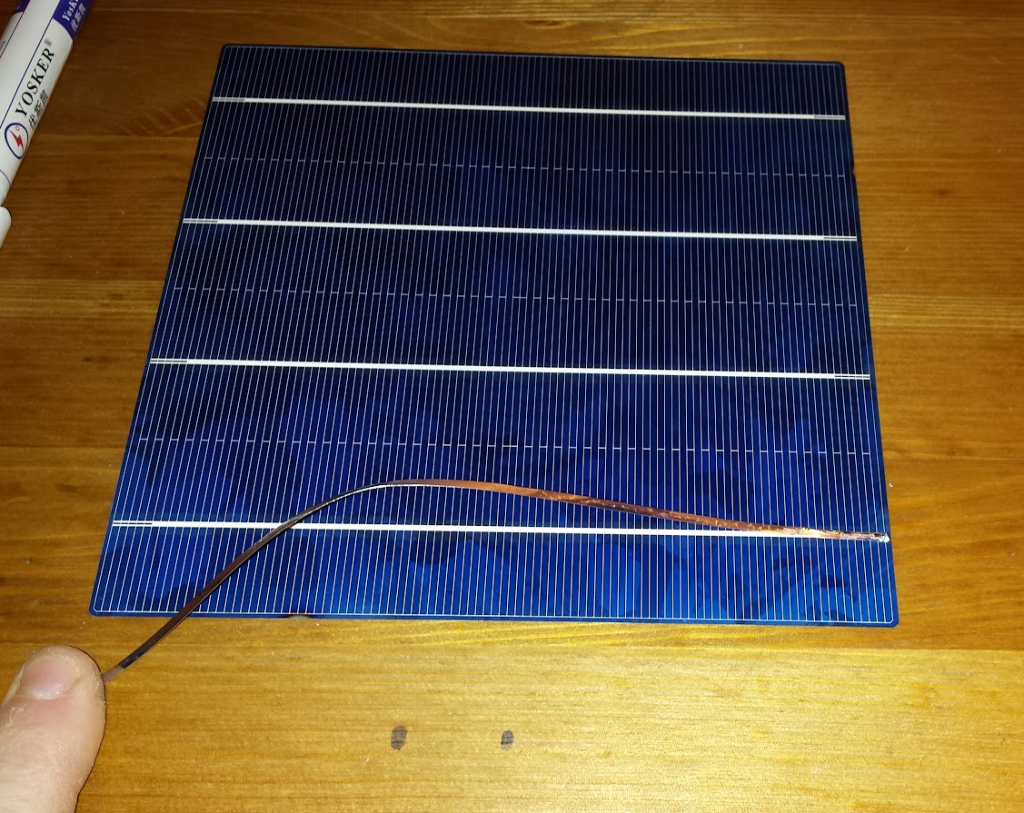
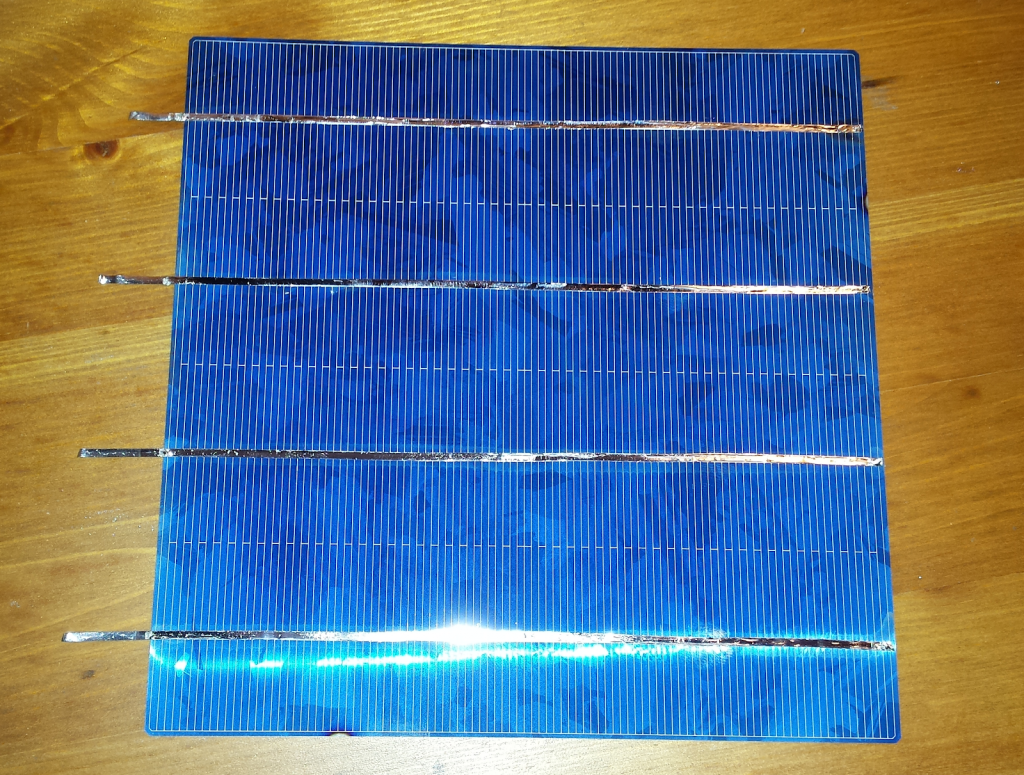
On the other side, we put resin and then weld the smaller strips and have them going over the edge. The idea is that the side of the top is negative (which receives light) and the bottom is positive. The negative of one cell must be connected to the positive of the other.
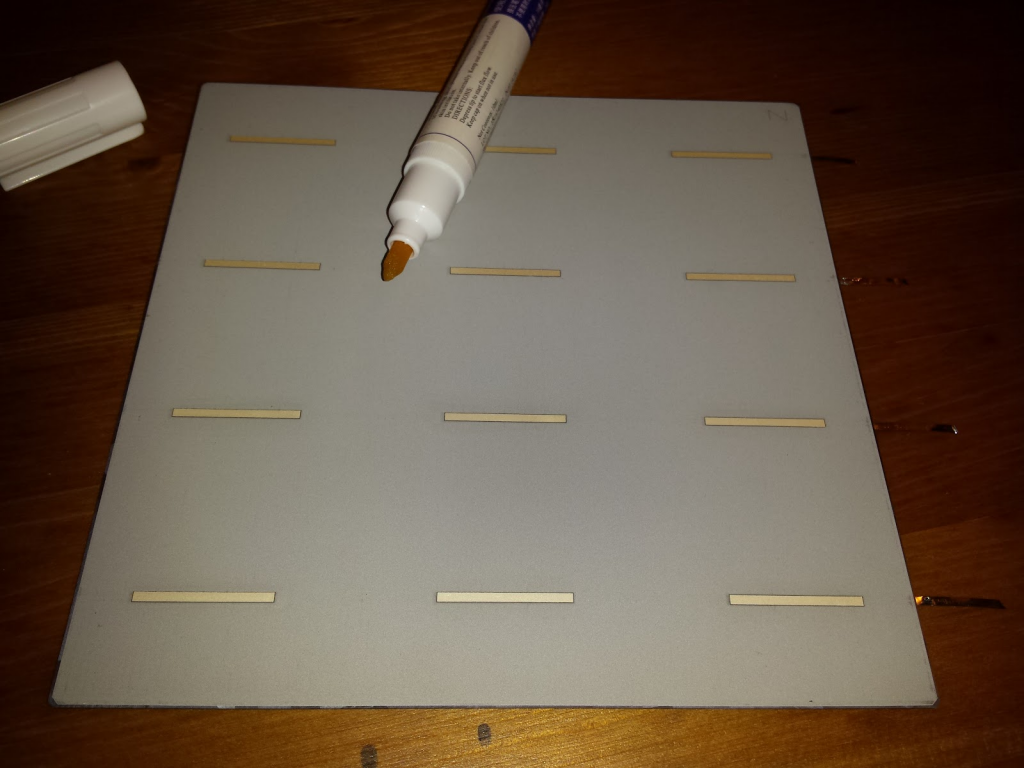
The 4 strips are welded. So you have to repeat the thing a hundred times or more, to start having energy in a reasonable way. It’s long, meticulous, it leaves time to think … We can store the cells one over the other in the delivery box (very gently).
